
 Back to website
.png)
Developer / Prebuilt Checkout API / User Guide
User Guide
Overall Dinger user guide
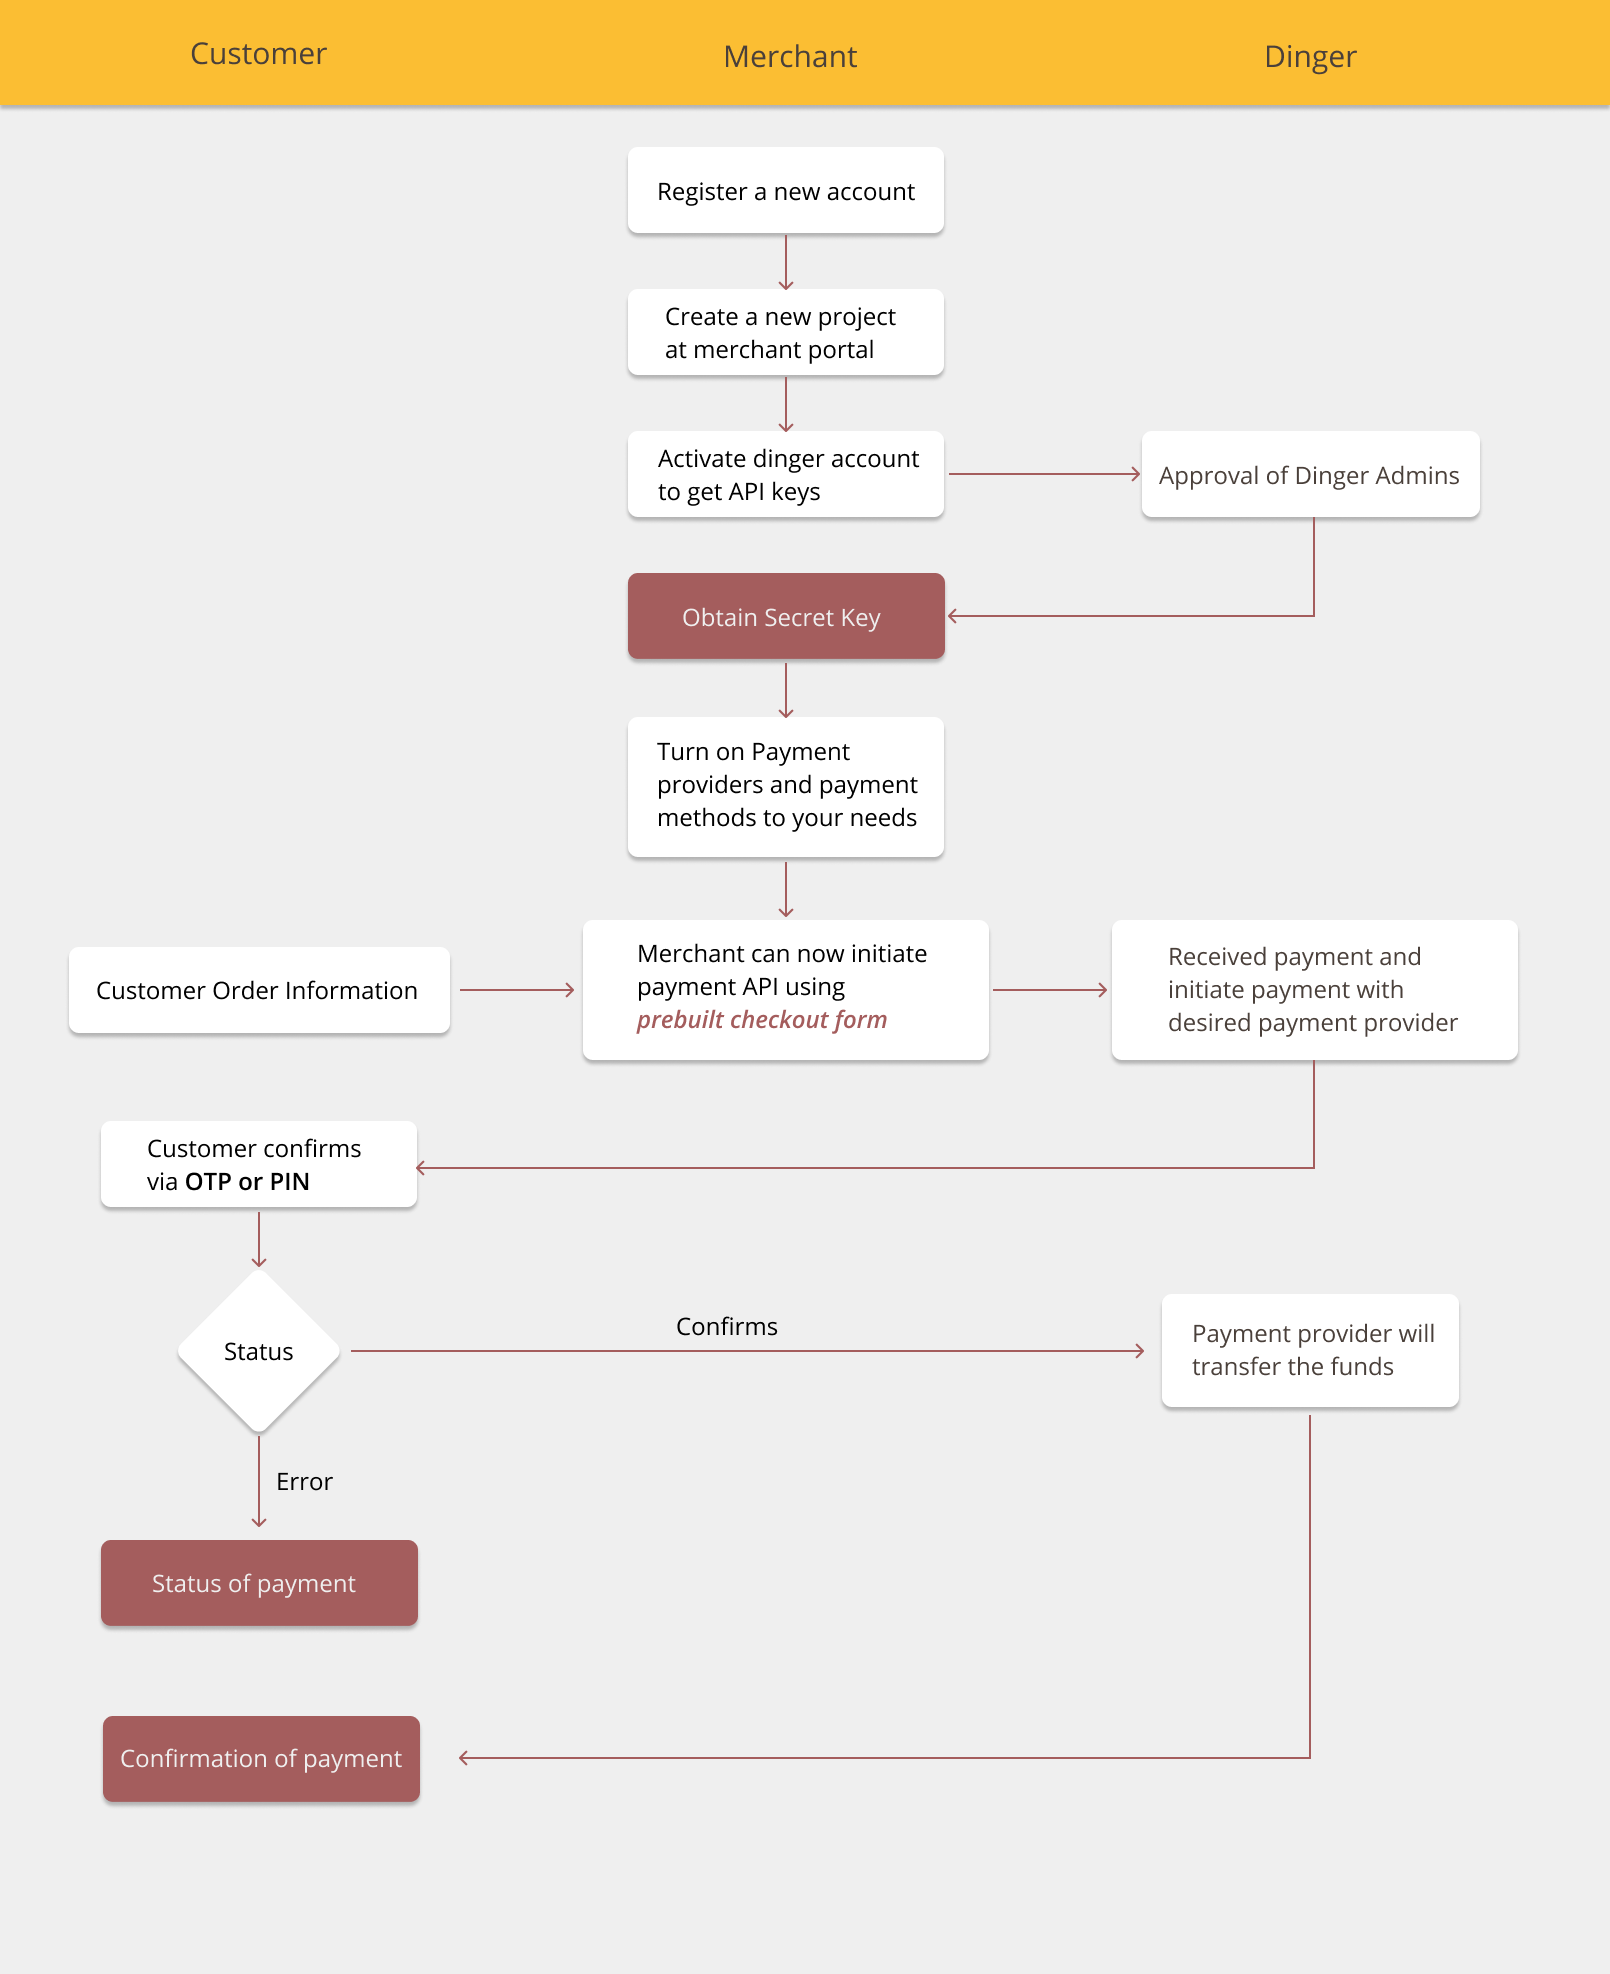
Step by step user journey guide
1. The merchant first has to register his account before creating a project. You can register your account here at production or here at staging.
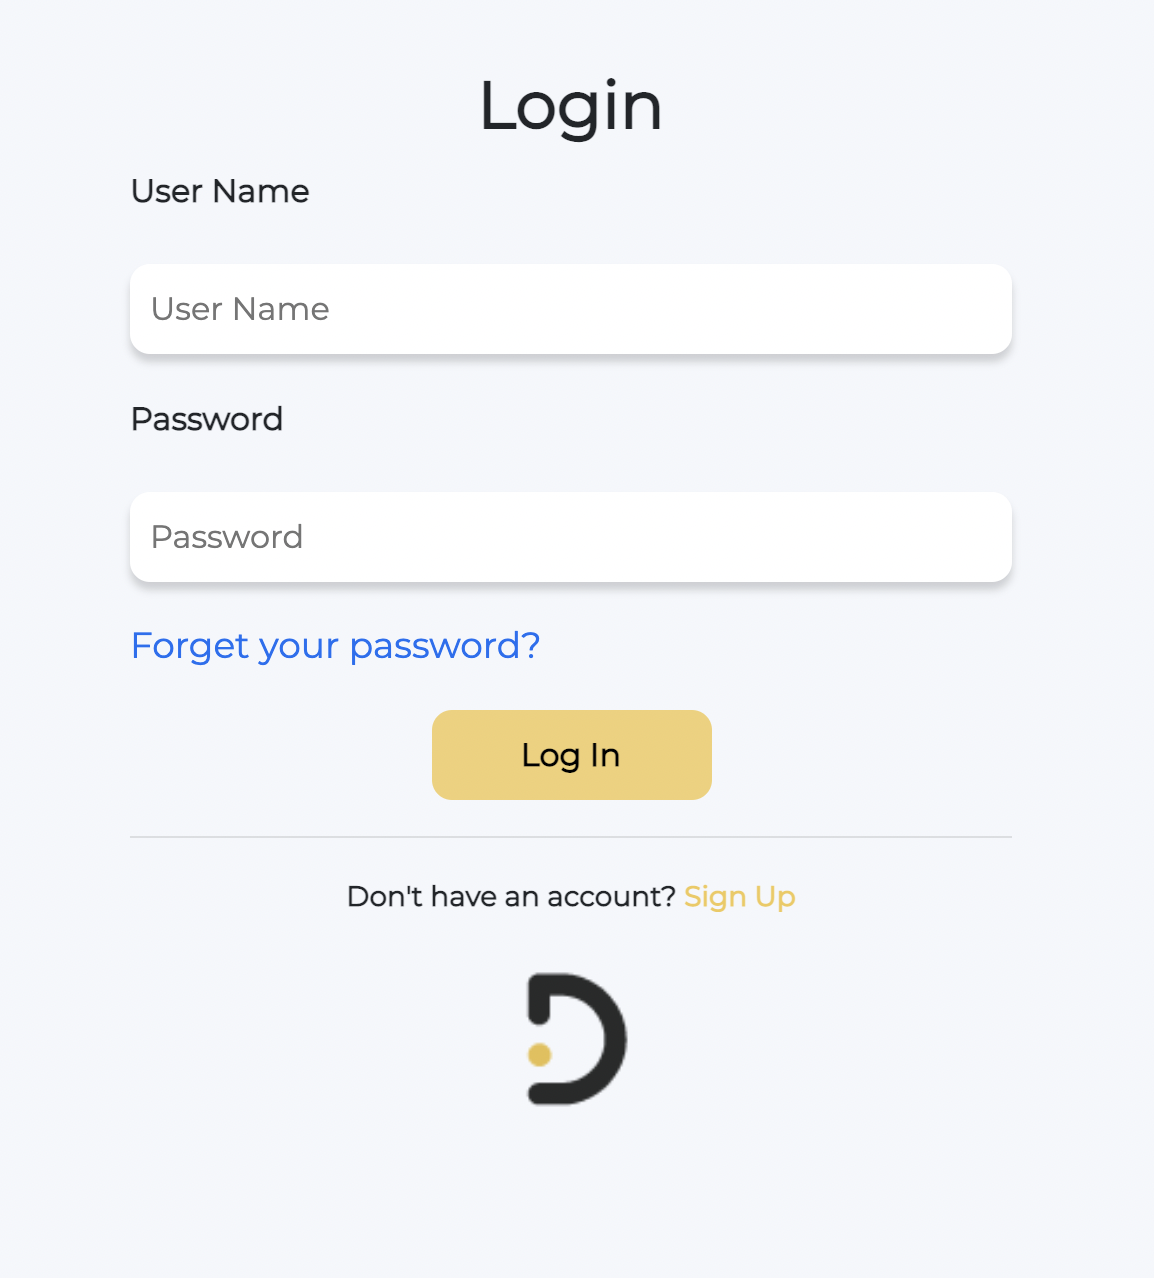
2. After registration, he can log in to his account at the merchant portal.
3. Subsequently, he has to create a project at a merchant portal. Only the project name is required to create a project.
4. After the project has been created, he has to activate his dinger account to get the api keys needed to initiate the payment api.
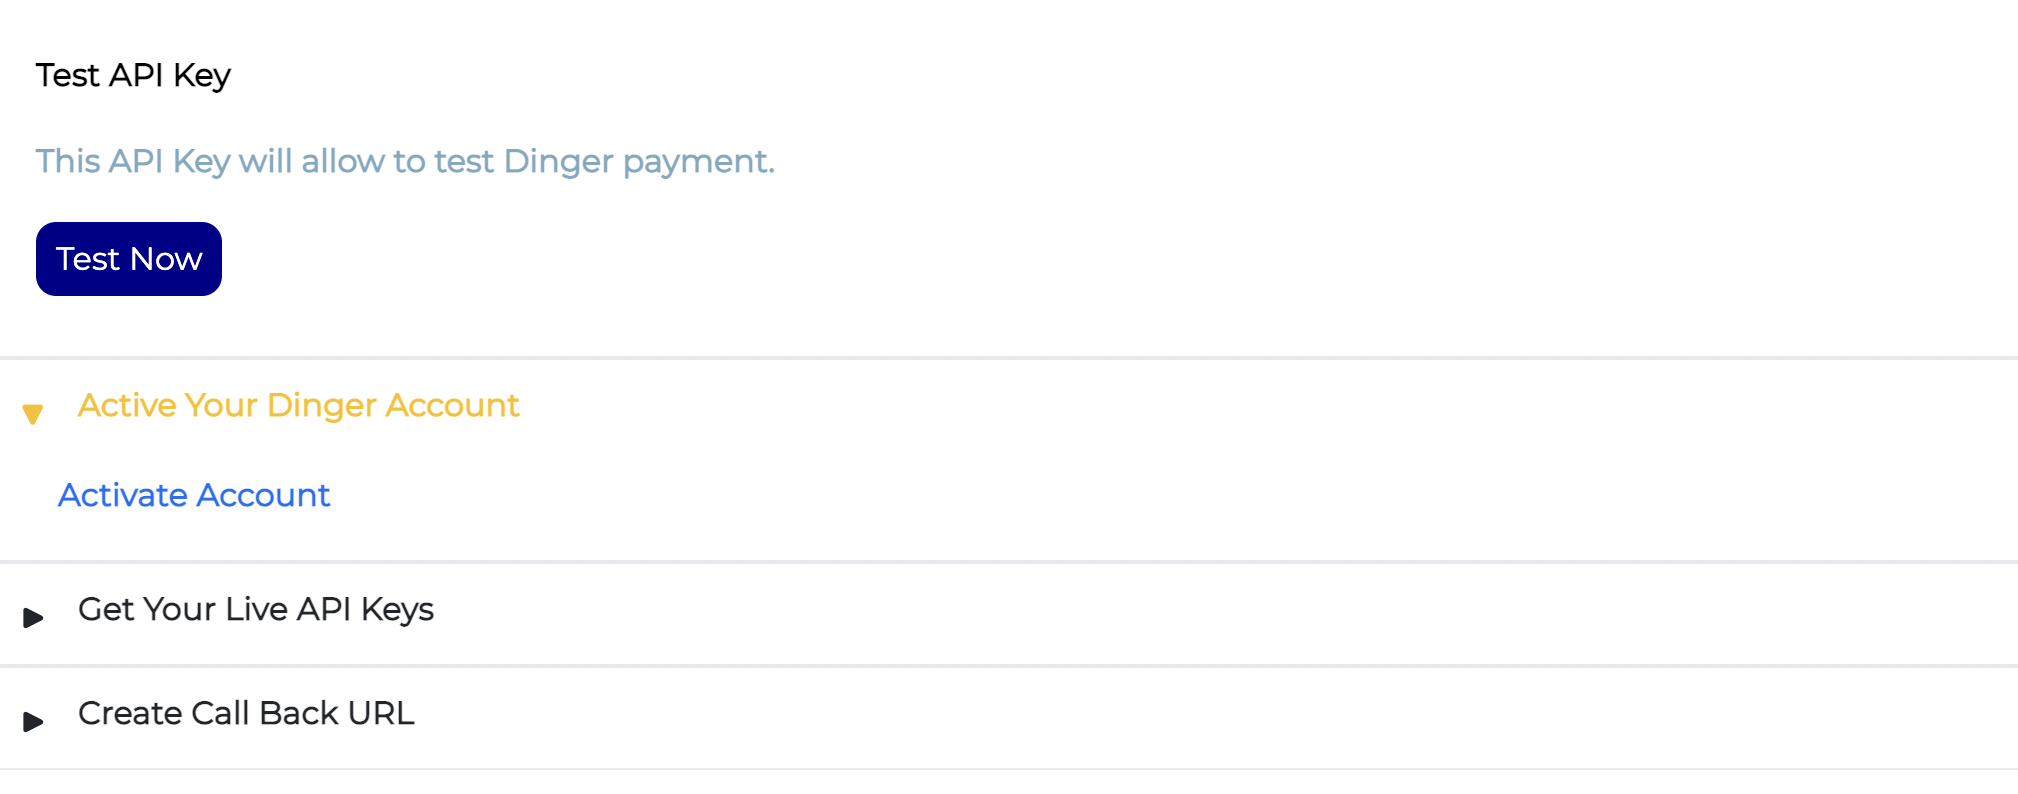
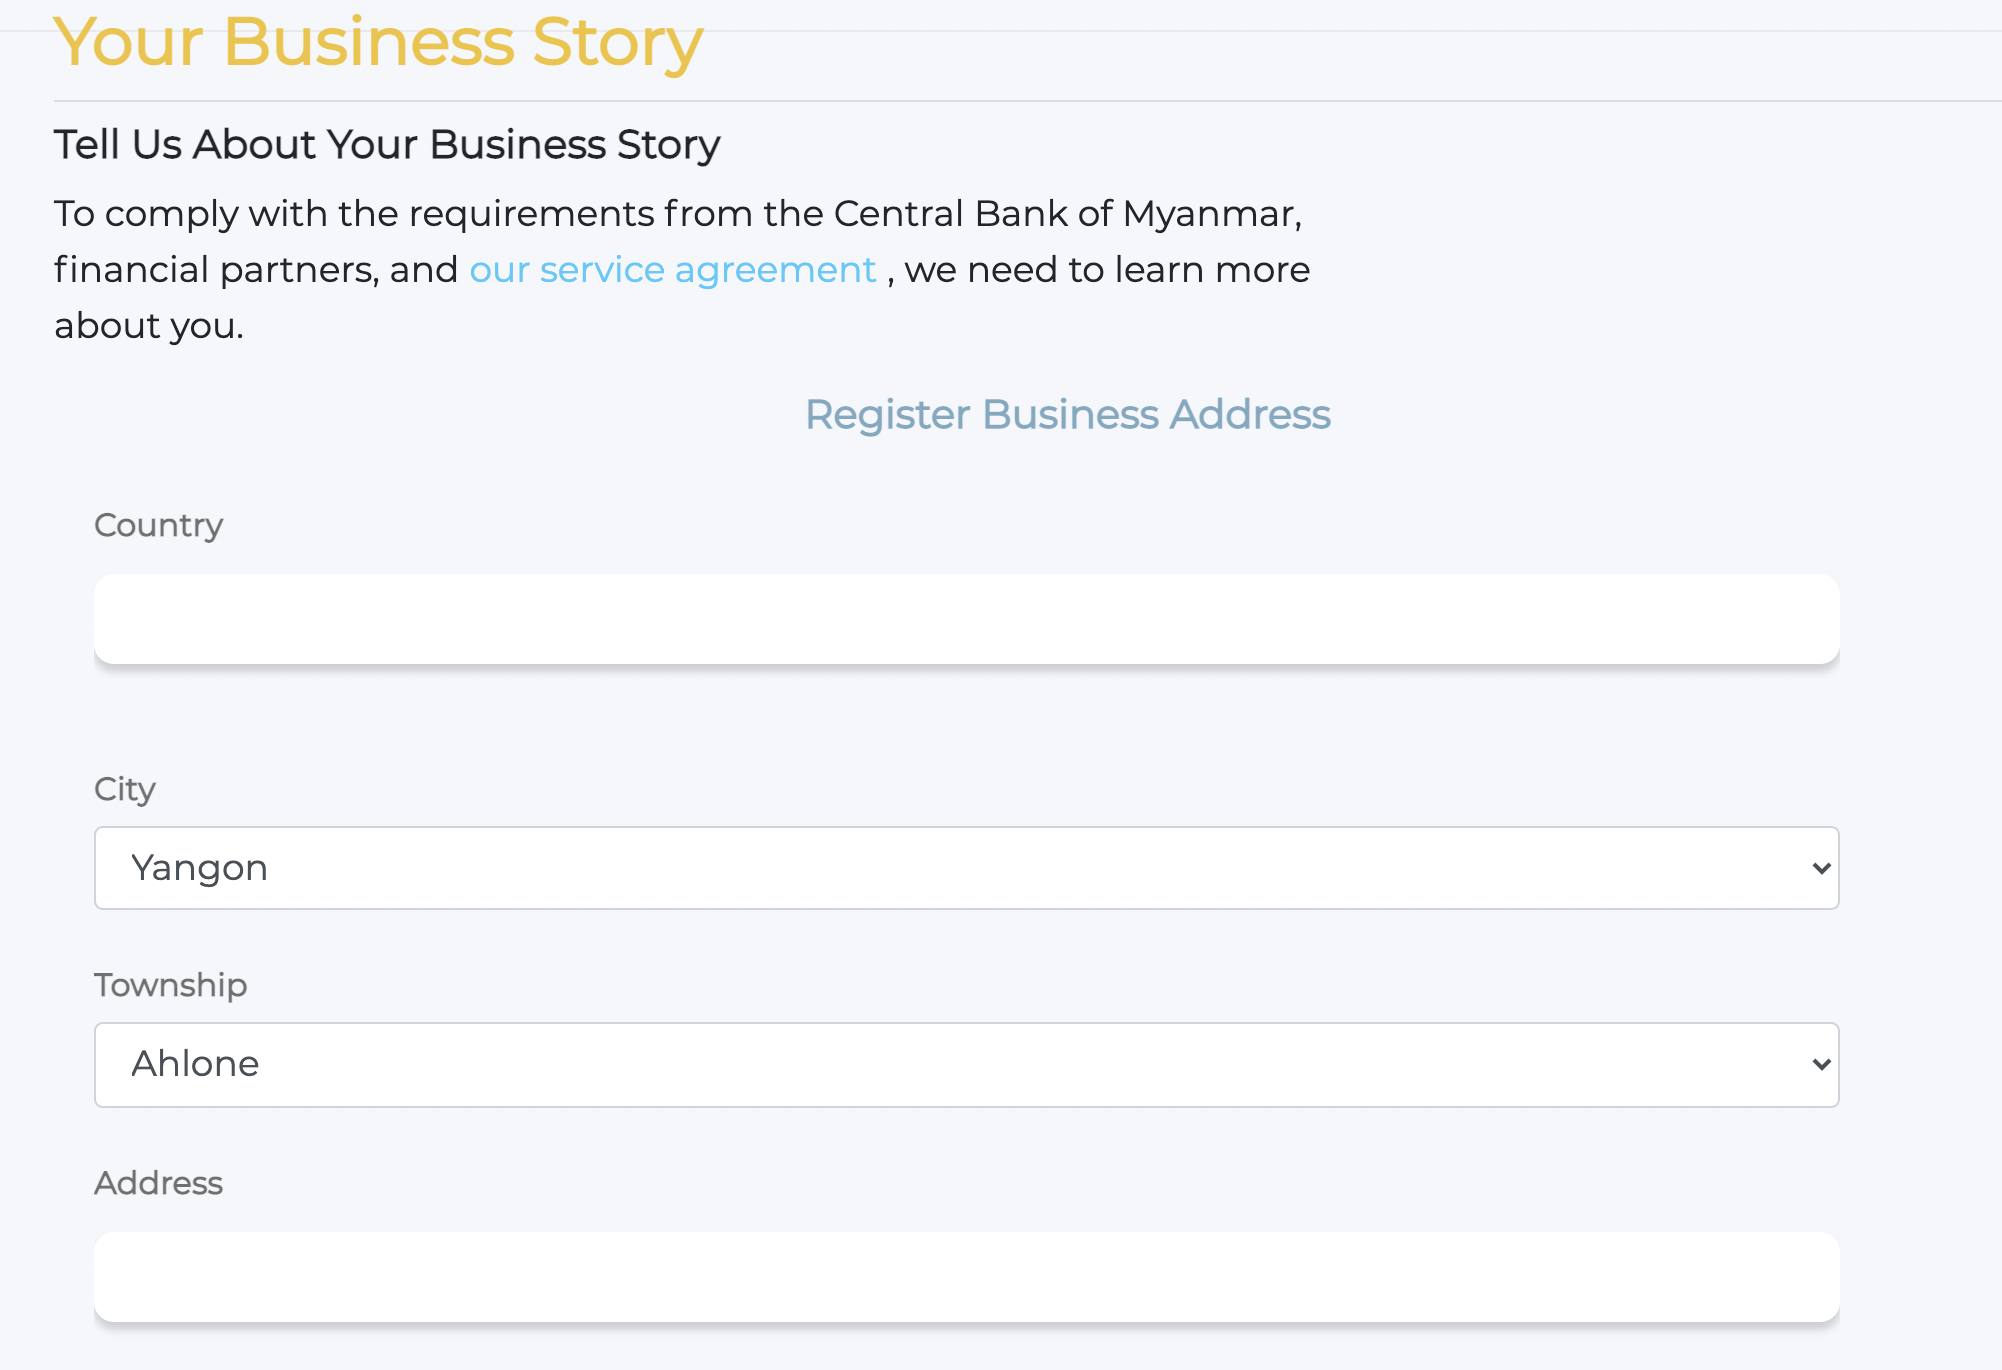
5. To activate the project, he has to fill in the required information about his business and product.
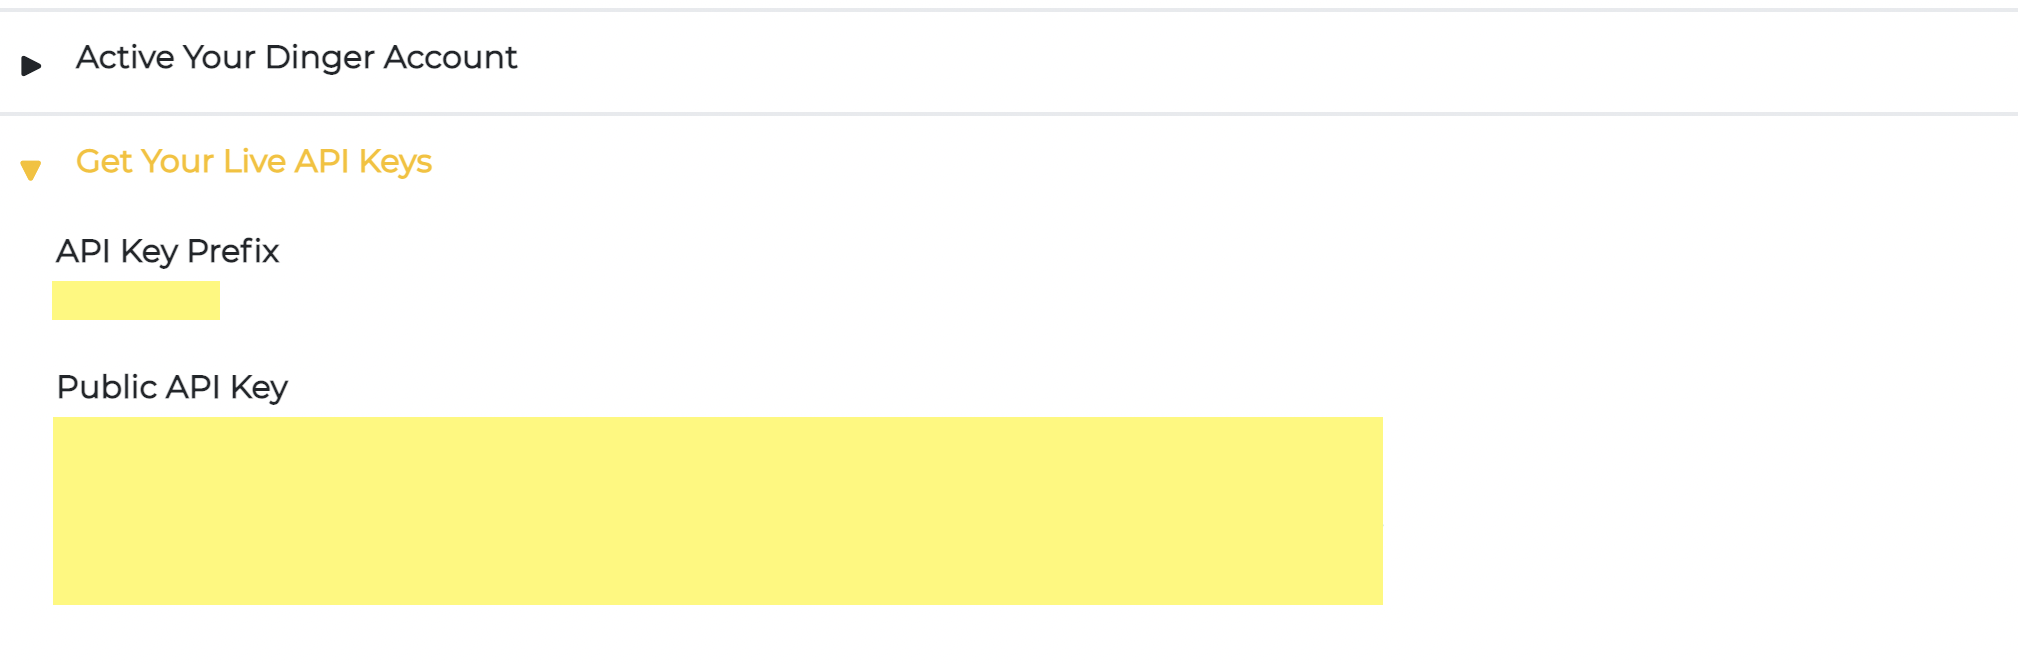
6. Later on, admins have approved the project, and the merchant generates the api keys required for the transaction. (Remark: the secret key will only show once. He has to copy it and keep it in a safe place.)
7. You will need the client keys (Public API Key) and client ID (API Key prefix) to work with checkout form. (Please see checkout form docs here).
8. After getting the keys, add the callback URL and return URL. Then you will receive an API key that will be used later in registering for our checkout form.

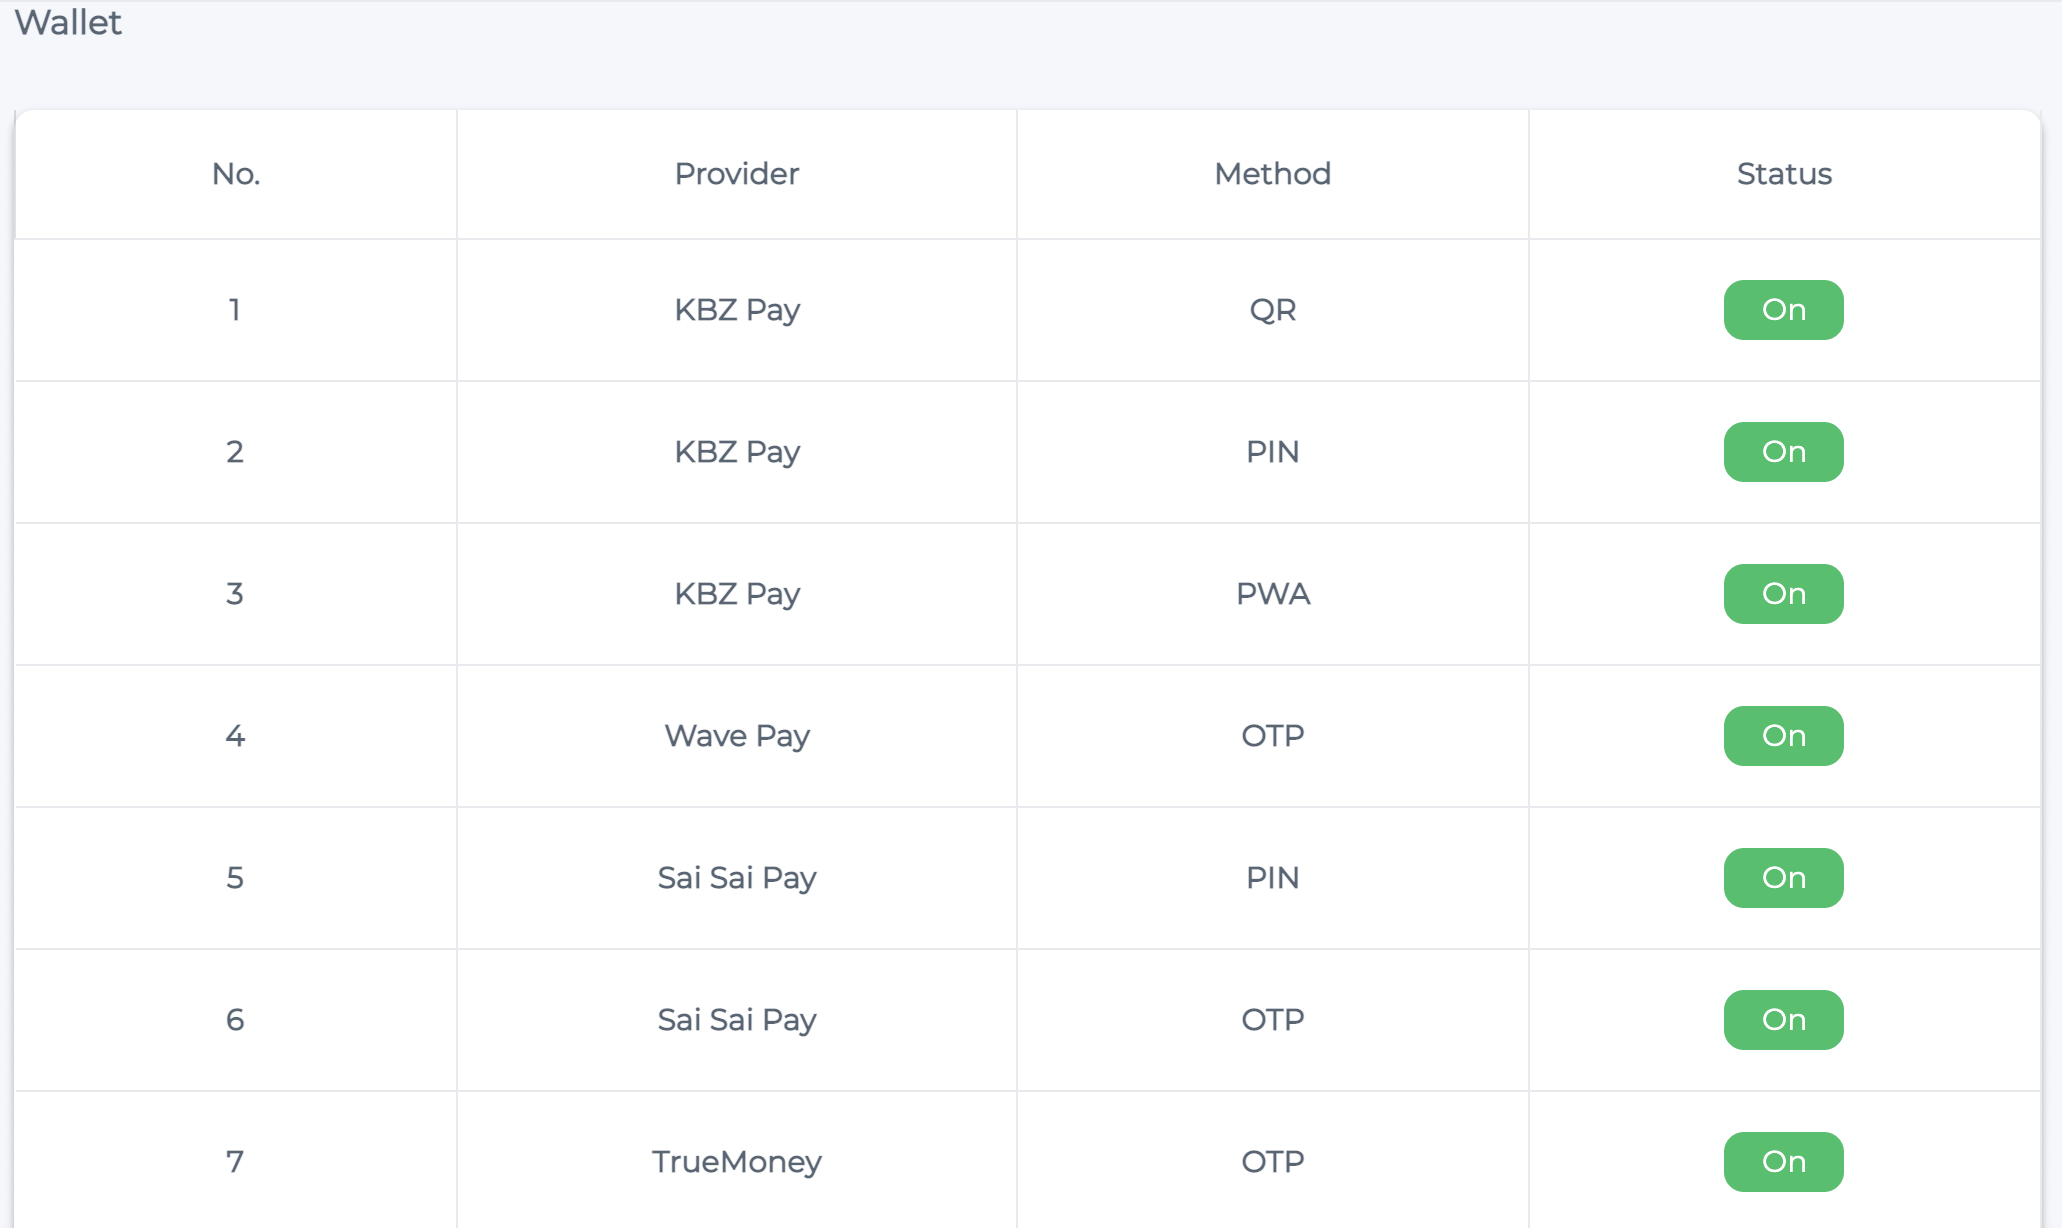
9. Before initiating the payment api, he has to turn on the payment providers and methods of his desire in the settings page of the merchant portal. (In Setting)
10. He also has to fill in the required information to use dinger prebuilt checkout form.
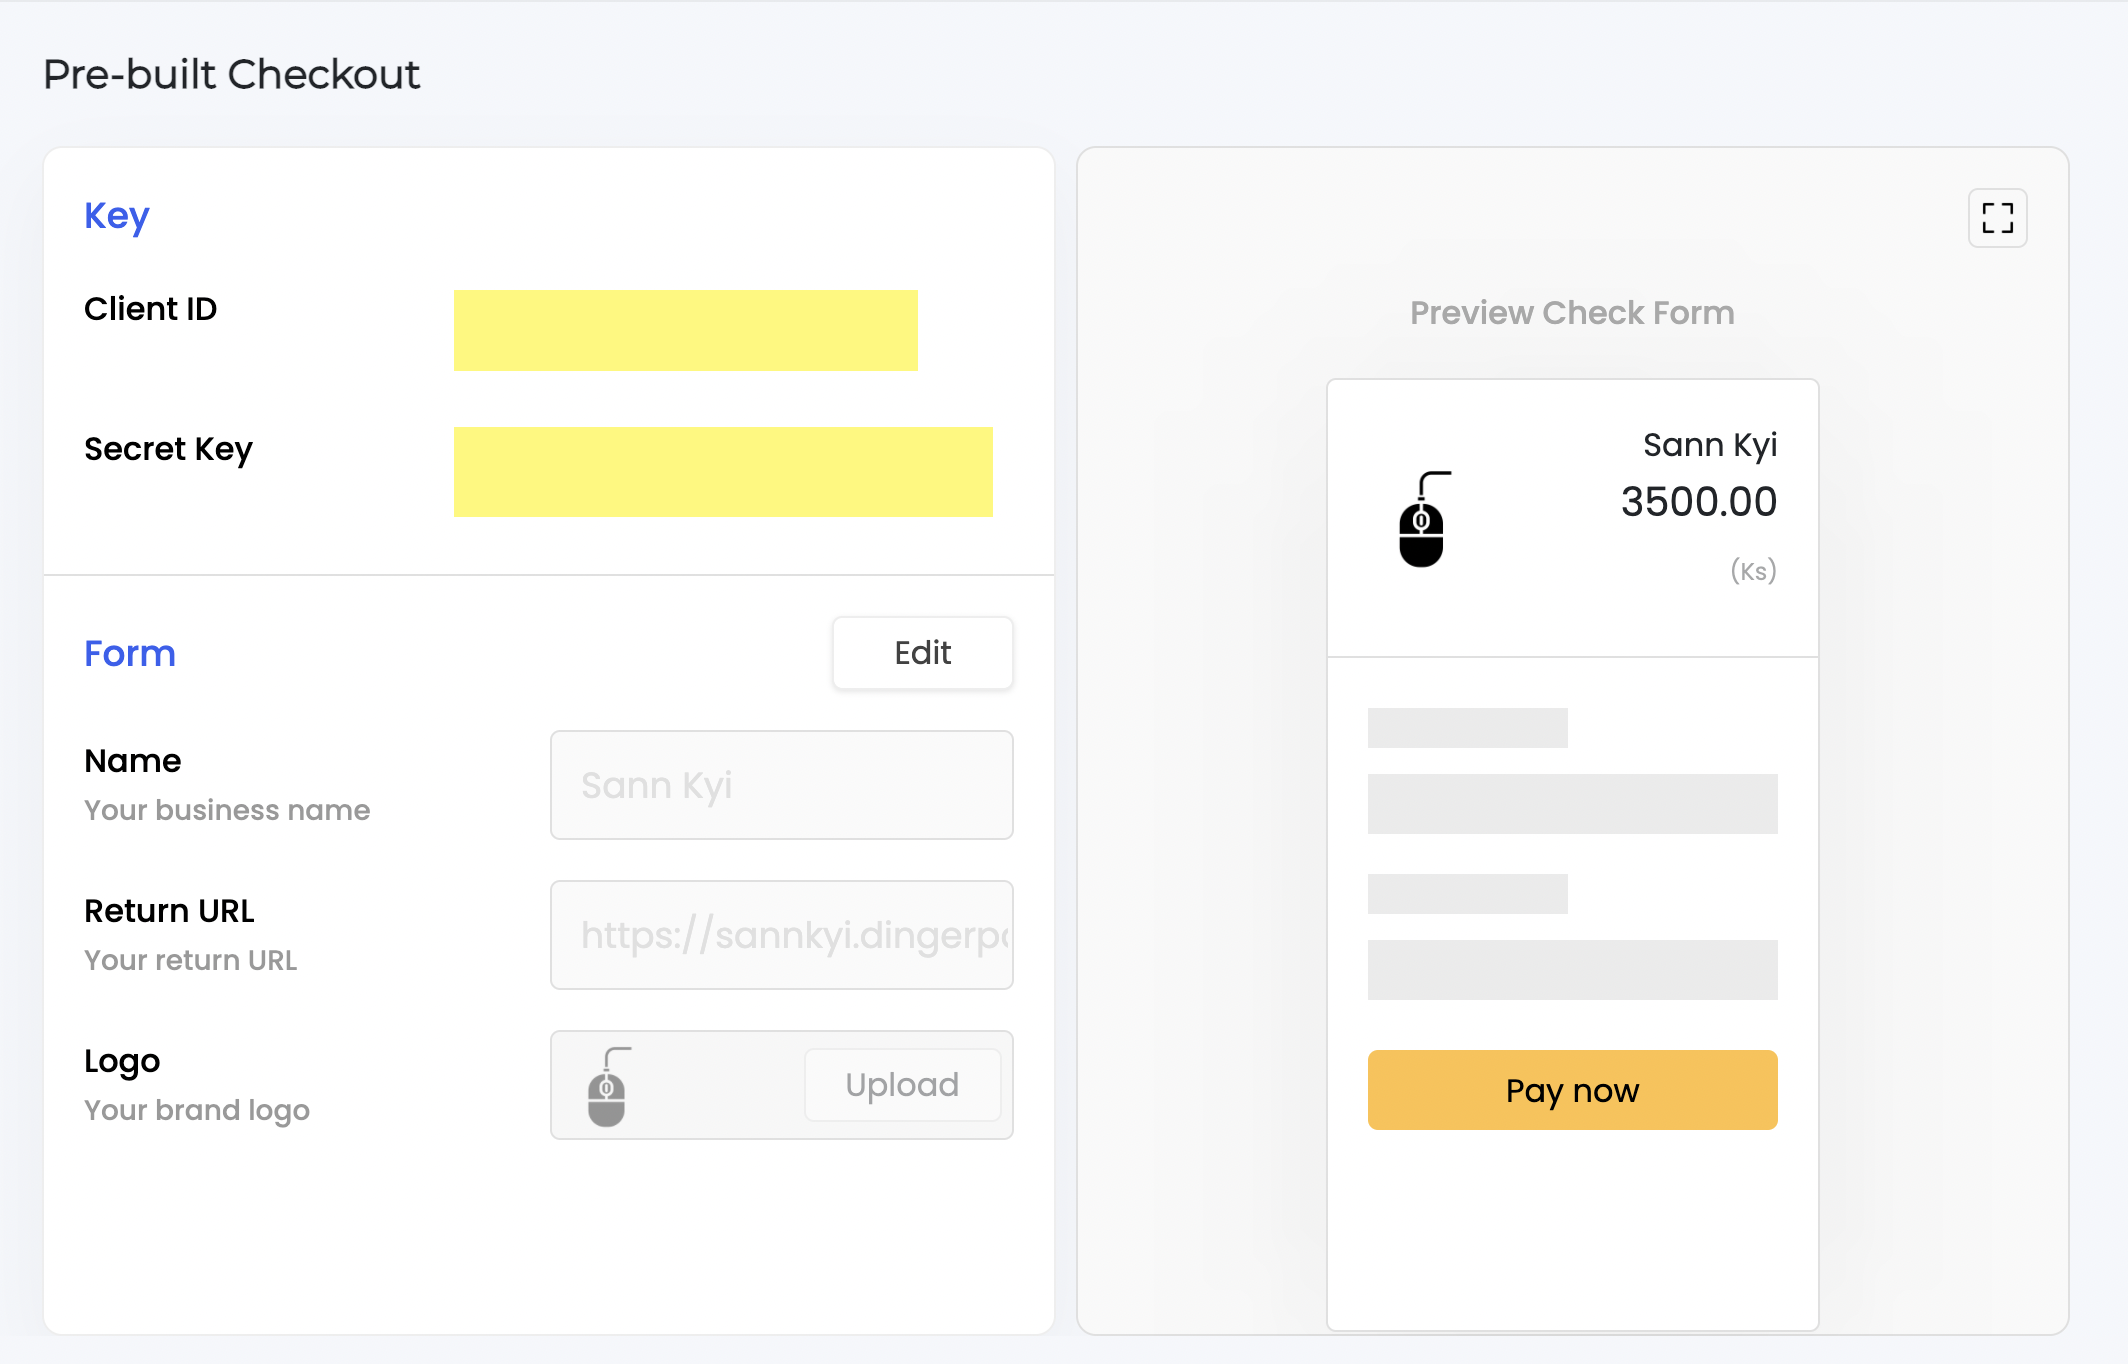
11. After that, the merchant can now initiate the payment api with the steps at prebuilt checkout form and finish the transaction.
12. After the payment confirmation, the payment provider will transfer the funds.
13. If the payment is successful, the customer will receive the confirmation of payment.
14. If the payment is unsuccessful, it will display the error message and why that error occurs. The Merchant will receive the callback URL for failure and error message.